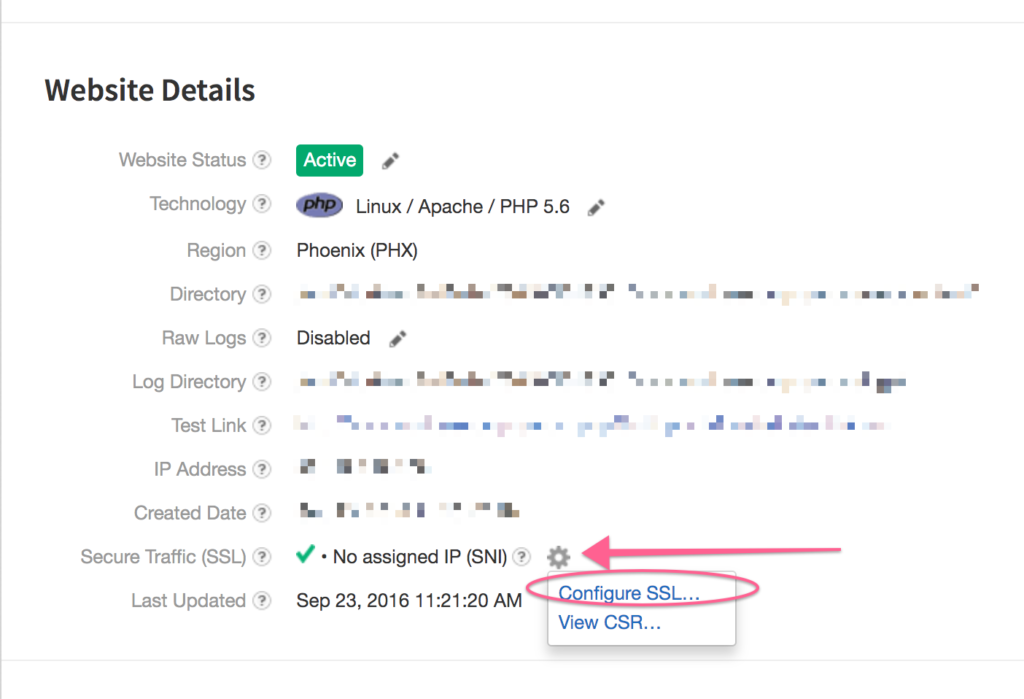
I recently had to setup SSL on a site that ran on Liquid Web, and had to go to several other sites to get info on how to do it; so this is a consolidation post! Not only for you who are Googling how to, but also for my own future reference on how to setup and renew the free Let’s Encrypt certificates.
Initial Setup of Certificate
Part 1
We begin with a sweet tool called Certbot and this tutorial is going through the setup on a Mac, because that is how I roll. If you run another OS, then find your specific directions here.
I am going to assume you are a developer with Homebrew installed so begin with by installing the bot.
$ brew install certbot
Yay, you now have a cool new tool! Now we start the process of generating a certificate,
$ sudo -H certbot certonly --manual --preferred-challenges http -d www.EXAMPLE.com -d EXAMPLE.com
When you run this you will get some interactive prompts in the shell, answer as you wish but you have to answer yes to the IP question or it boots you out. Once you answer the couple questions it will tell you to make a file that contains just a string it generates, and then save the file with the name given inside a new directory you will make at example.com/.well-known/acme-challenge/. Note this is the /web/content on your Liquid Web server, where your actual site lives.

Note that the directory is hidden, the . is not a typo, also the file name has no extension.
Once you have added the file into place go back to your terminal and hit enter to continue, it will challenge the data and ask you to do it again, at least I had to do two files 🙂
Once complete you get a congratulations. Well done so far!
Part 2
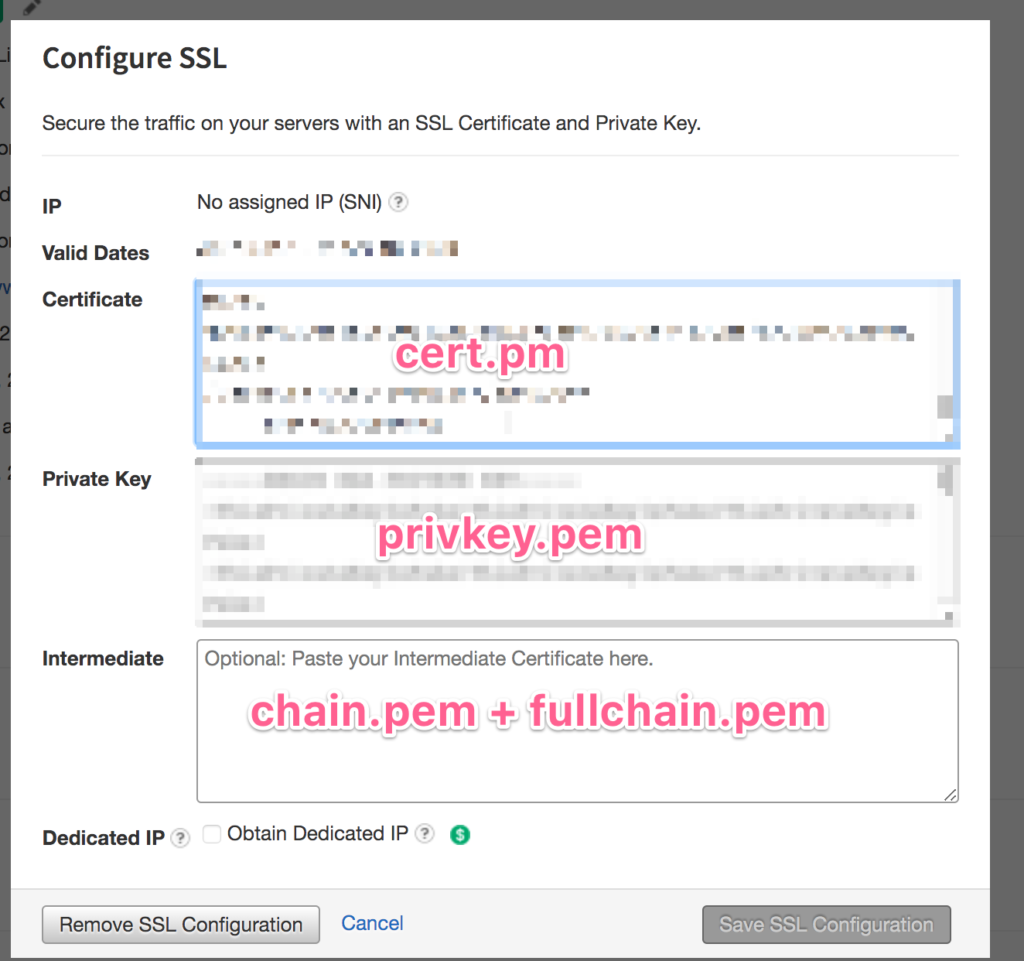
By default the certificate and chain are going to be stored on your machine at /etc/letsencrypt/live so head over there and do some copy pasting; there are 4 keys to copy and paste into the Liquid Web control panel, so open up the panel first that way you can copy/paste one at a time.

We are going to copy and paste one at a time, be sure you change directories to /etc/letsencrypt/live/www.EXAMPLE.com you may need to sudo.
$ pbcopy < cert.pem
This gets the cert which you paste into the box for “Certificate”.
$ pbcopy < privkey.pem
This gets the private key, which you paste into the, you guessed it, “Private Key” box.
Last box is called “Intermediate” and requires a combination of the last two, so first run this,
$ pbcopy < chain.pem
And paste it into the “Intermediate” box, then run this,
$ pbcopy < fullchain.pem
And paste it into the same box under the one you just put there.

Now save the config and woohoo.
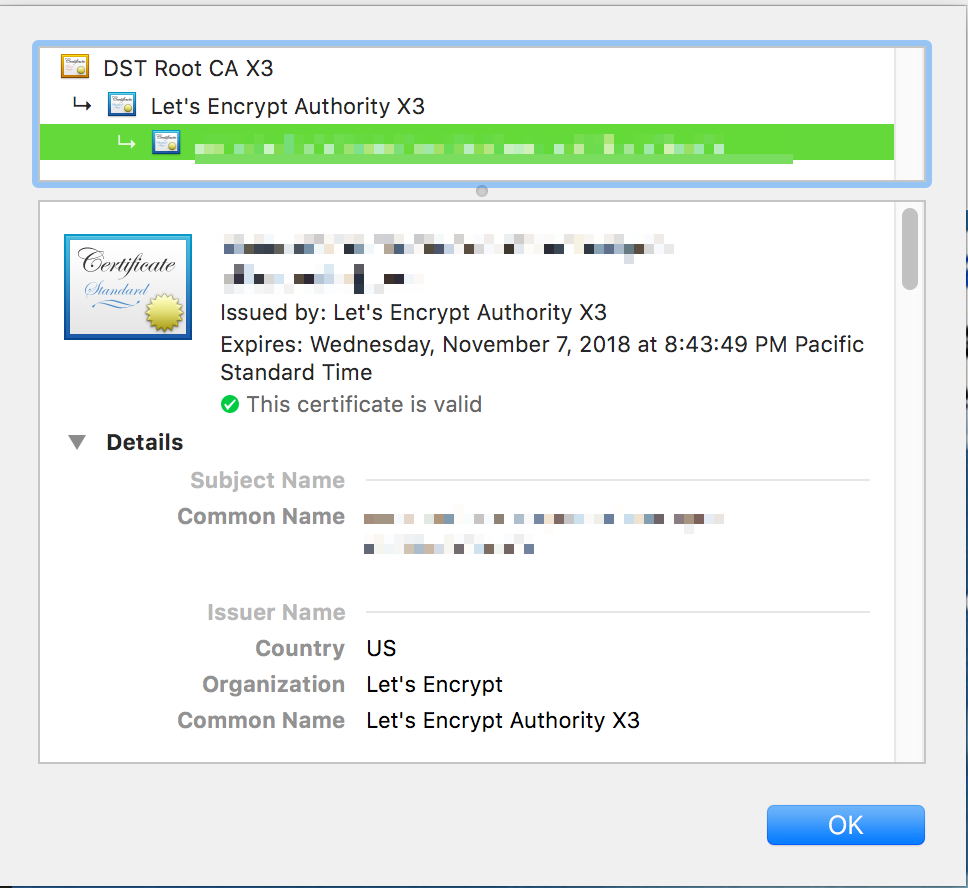
Head to the site and visit the https version to check the certificate, look at the cert info in the security tab of your developer tools to verify.

All that is left to do is update your site URLs to be https and redirect http -> https. I won’t go into details there because the methods are so varied depending on what you are running. But if you need help feel free to ask in a comment!
Renewing Your Certificate
Now, the bummer about running the Let’s Encrypt cert on a host that is not integrated with it is that everything is manual, including the 90 day renewal…So be sure you set your calendar! If you need a reminder, you can find out when a cert is going to expire by running this command,
$ sudo -H certbot certificates

Copy the Certificate Name of the one you need to renew and run,
$ sudo -H certbot certonly --force-renew --manual --cert-name www.domain.com
Where “www.domain.com” is replaced with “Certificate Name”. At this point, jump back up to part 1 and redo the process, yay!
Hopefully this has helped you out, and let me know if you have any questions.